In G.T. we are currently working on HDR landscape photography. HDR
photography is a
High Dynamic Range imaging. It is used to take 3 or more pictures of the same view at different lighting. Then turn it into one photo that is more than what the eye can see, more than what the camera sees. What I like about HDR photography is that, it makes photos amazingly beautiful! It also balances the lighting between different objects. But there's one thing I dislike about HDR photography. It's just that some HDR photos look unreal. If you were actually there when the photo was taken, the view and the photo wouldn't exactly look the same. Like if you were to see an HDR photo on the internet, you were to think, "Wow! I want to go there!". But when you actually go to that view, it's not as breath-taking as the HDR photo you saw on the internet. Hopefully you get what i'm saying.

In order to make an HDR photo, you have to go through a couple of big steps. First things first, you need to take 3 or more photos of the same view with no movement. But in different exposures. You have to make sure that your horizontal line is straight, you have a good rule of thirds, and a good focal point. Once you have all the photos you need, you put them on photoshop in HDR Pro mode. Photoshop will then combine all of your photos into one photo where you can see the darkest parts of the view and the lightest parts of the view clearly, the whole photo will be in balanced lighting. Once Photoshop is done with that, the next part is all up to you. With the photo you have, it's your choice to put as many effects as you want. You can make it realistic, surrealistic, leave it as it is, or ect. Once you have done all of those steps, you are done. Hopefully you'll now have an amazing HDR photo! This process is different than other automatic HDR functions, e.p. your cell phone, because with this process you can add as many different effects as you want. While on an automatic HDR function you don't really get a choice on how much effects you want to add to you photo.

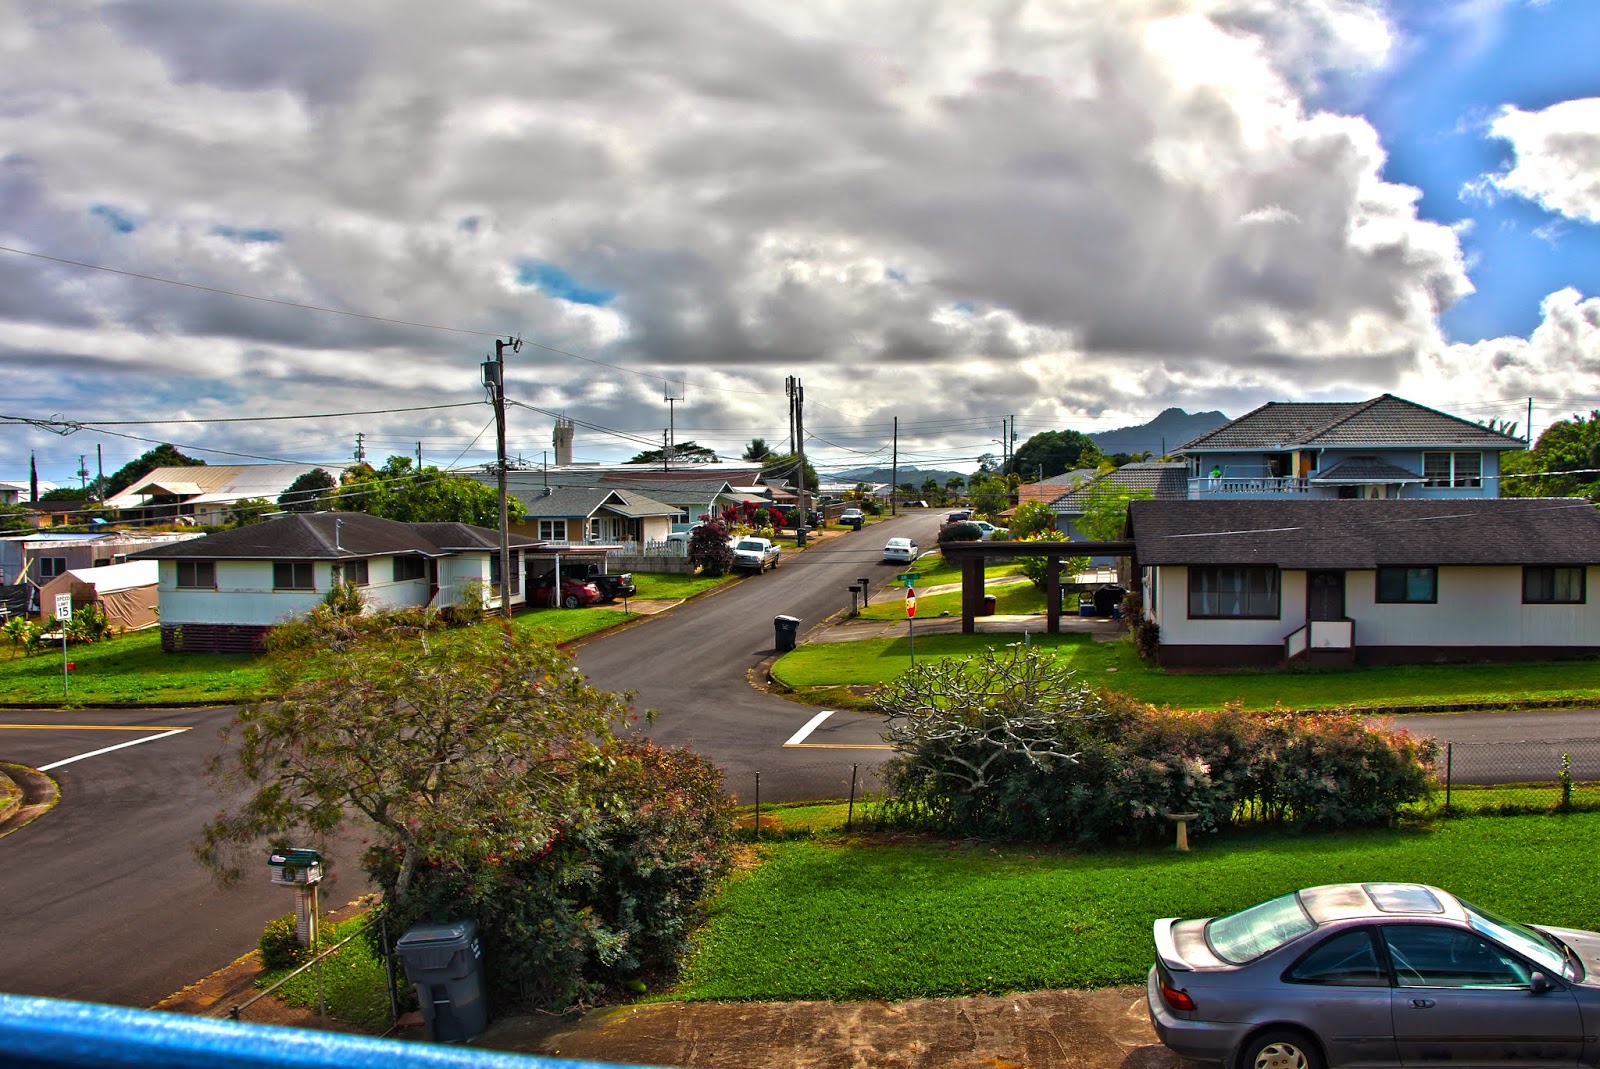
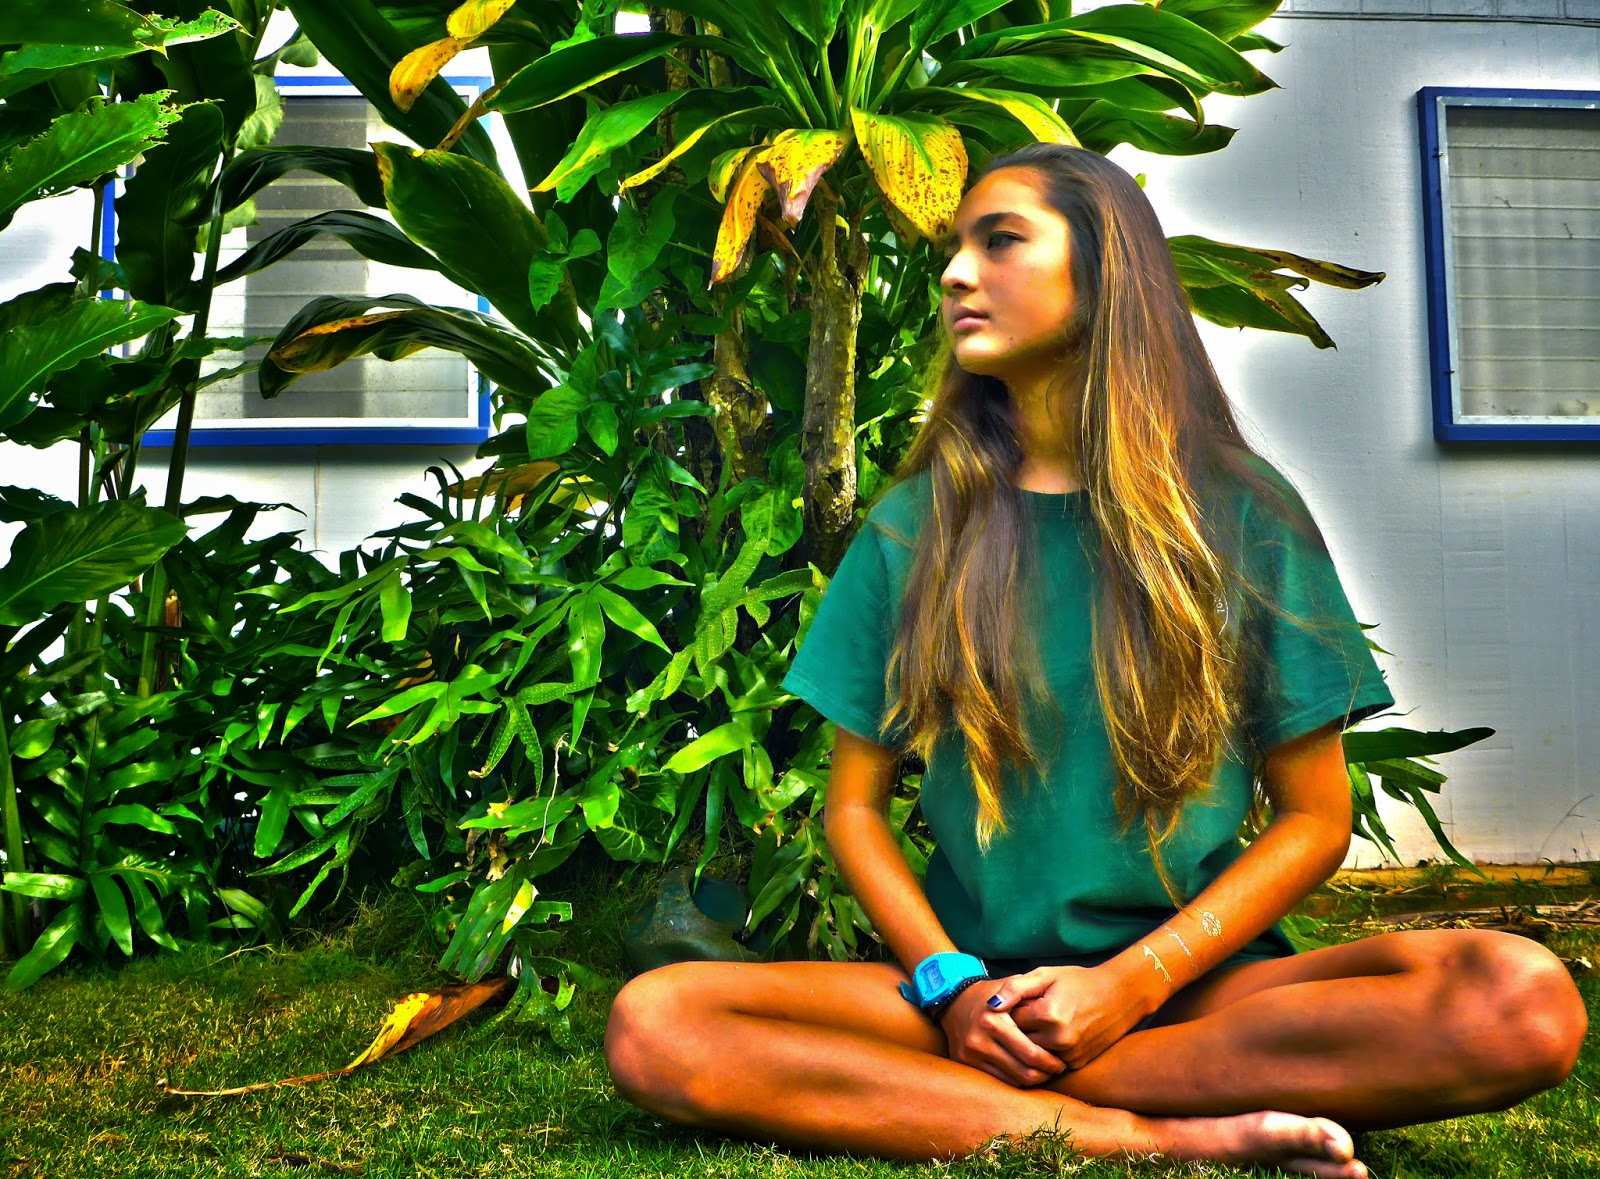
My first HDR photo is a landscape photo that I took on a deck at my friend's house. I think for this photo I have a really good focal point but I could've put more thought into my rule of thirds. My horizontal line seems to be in the dead center of the photo, when it should've been a little higher or a little higher. I also added some effects to make it look surrealistic. I think it looks quite dramatic! My second HDR photo is a portait of my friend, Gabby Duran. It took quite a while to take this one, considering she had to stay in that position for about 2 minutes. I think my rule of thirds is perfect! But I think I could've made her turn her head a little more to the camera. I also added effects to make it surrealistic as well. I think it came out beautiful! My last HDR photo is a superimpost photo, where I combined both of my HDR photos into one photo. I cut out my friend out of the portrait and placed onto my HDR landscape photo. I also added some effects so the cutout looks smooth. Once I did that I added a word that is surrealistic and relates to what the photo is telling the audience. I put the word "imagine" and added effects so that it looks more eye catching. I think that photo came out beautiful, I wouldn't change a thing!

 But by making these double exposures, the class used photoshop. But even before you go onto photoshop you first have to get two or more photos of anything that pleases you. Then you load those photos into a stack along with your portrait. Then you use the dodge tool to start dodging your portrait. It is best that the background of the portrait is as white as possible. Once that is done, you can double click on your other images and use layer adjustments to make your double exposure to look like however you desire. After you have done all of those steps, hopefully you have made a unique double exposure! I think once you have made a double exposure you can see why you would want to make one. Making a double exposure is a great technique in photoshop, which is gaurunteed to give you great results. Plus you can make a double exposure photo that represents who you are!


