Monday, April 27, 2015

Our Animation Story


Currently in G.T. the whole class is working on their team's short animation film. Each team has a focus statement for their story, basically the title of their story. My team's focus statement is "Skippy Defeats Gum Monster". My team and I chose this focus statement because in the film the main characters are Wailana, Skippy, and the Gum Monster. In the story, gum gets stuck onto Wailana's hair and turns into this Gum Monster. But the only way to get rid of the Gum Monster is peanut butter. So Skippy comes in and they both go into this "battle". And well you know who wins.

The lesson that my team and I is trying to teach the audience is that when you take jealousy into action, it will never help you become a better person Also. peanut butter is a great way to take gum out of your hair. Once you get gum onto your hair, it's a whole sticky situation that you can't get out of alone. We teach this lesson of jealousy because jealousy can sometimes ruin friendships, which mostly everybody can relate to. We show in the video clearly that you can take gum out of hair by using peanut butter. 

Of course when working in a team not everything will go smoothly. We had our best moments but we also had our worst. Our worst moment was when we were behind and didn't meet the requirements for our rough cut. So everybody in the team had to stay in for second period and work on it and make up the extra work later on. But our best moment of all was that our team was the first ones to turn in our final short animation film. Which we got rewarded for by getting a bonus point for our grade. Overall, it was super great experience. I would absolutely love to make another animation film again!

After the whole class finished their short animation films, of course the class had to do a critique. We were critiquing each team on their characters/sets/props and creativity/originality/execution. As you can see my team received great critiques. After every team's animation film was viewed, everyone voted for their favorite film. And well, my team's short animation film won for the most votes on the Best Overall Animation! My teammates and I are very happy that we got the most votes. Hard work really does pay off!

Animation Outakes

The next project that we are working in G.T. is animation. The class I separated into eight teams. Each team would have to work together and create a short animation film, which will be submitted to a film festival. My teammates are Wailana Makepa and Mikela Griffen. Wailana Makep likes to hang out with friends and has experienced getting gum stuck onto her hair ;). Mikela Griffim likes to play soccer and enjoys making art. Wailana and Mikela are both wonderful and hard-working teammates and I'm very glad that we are a team. 

The technique that each team will be using in order to create this animation film is stop-motion. Stop-motion is the technique whereby the camera is repeatedly stopped and started. So you basically just take multiple pictures when every movement is changed.  A .GIF is an image file that consist of multiple images that are compressed together to reduce transfer time - pretty much a very short animation video. 

Each team's short animation film would have to be about a real life scenario that a teammate has overcomed. My team and I decided that we would make our animation film about Wailana and the story on how she got gum stuck onto her hair. What happened was Wailana's friend accidentally spit out gum onto her hair. Then the gum got stuck onto Wailana's hair. So she used peanut butter to take it out. But my team and I actually wanted to change the story a bit to make it more amusing to viewers. So we decided to make the gum, the Gum Monster. And the peanut butter as Skippy, the hero. You can see where this is going. Mikela is the main animator, Wailana is the voice of Skippy, and I'm the voice of the gum monster. I think you should care about our team's short film because if you ever get gum into your hair, peanut butter will surely help. Plus if you're ever in a bad mood, this short animation film will definitely put a smile on your face.

Monday, March 23, 2015

Typography Images

Nikola Tesla
The next project that the G.T. class is working on are typography images. The project is mainly just a typography portrait of certain people.  Typography is the technique of placing and using meaningful words to make art. A portrait is an image of a person or a group that shows expression, mood, and their personality in some way. If you put a portrait and typography together, you get a portrait that is created with meaningful words. The technique of typography can make a lasting impact with images to viewers by making the image with words that tell very interesting things about the person. You can also add effects to make your image look more eye catching.

Ms. Lardizabal
During the making of this project, I went through some challenges. When I was placing the words  for the typography image of Nikola Tesla, his face was unrecognizable. So I used kerning to make the spacing between the words smaller. I did notice that the less space there is, the more recognizable the person would be. For the typography portrait of my Ms. Lardizabal, it was hard to see her facial features. So I mostly used a light brush for her eyes, nose and mouth to stand out more. I think by using those helping techniques, both images came out great!

Myself
For this project, I made three typography portraits. I made one of Nikola Tesla, Ms. Lardizabal, and myself. My first typograhy image that I made was of an innovator, Nikola Tesla, a Serbian inventor. This typography portrait is different from the others that i've made because I used different words that describes who he is and what he has done. Plus not only is his face filled with words, the background as well. My second typography image is Ms. Lardizabal, a Kapaa Middle School teacher who has been a teacher at that school ever since the beginning. I used words that describes who she is as a person and what she does at the school. I also used a gradient effect on this image to make it look more appealing. The last typography image is myself. This one was made very differently than the other two images. I used posterizing, gradient, and other tools in order to make this typography image. My favorite out of the three typography images would have to be the one of the one I made of myself. I just love the gradient effect that I put and how there are a variety of colors. This project was an amazing experience and I would love to do it again!

Wednesday, February 25, 2015

Double Exposed Portraits

The next prjoect that the class and I are working on in G.T. are double exposed portraits. It all starts with a simple picture of someonet. Portrait photography is when you take a photo of a group or a person that shows expression, personality, emotion, and ect. Portrait photography relates to profile view and silhouetting because a portrait is more of a profile view of a person, showing their face. But most of the time while doing that, you get a silhouette of the person in the portrait. Which shows the outline of the person in the portrait.

But by making these double exposures, the class used photoshop. But even before you go onto photoshop you first have to get two or more photos of anything that pleases you. Then you load those photos into a stack along with your portrait. Then you use the dodge tool to start dodging your portrait. It is best that the background of the portrait is as white as possible. Once that is done, you can double click on your other images and use layer adjustments to make your double exposure to look like however you desire. After you have done all of those steps, hopefully you have made a unique double exposure! I think once you have made a double exposure you can see why you would want to make one. Making a double exposure is a great technique in photoshop, which is gaurunteed to give you great results. Plus you can make a double exposure photo that represents who you are!

For this project I used two images that tell a little something about me. I used an image that I took of a white rose, which is my favorite kind of flower. I also used an image that I took while I was on a plane coming home from the Philippines. Which is a sunset, I seriously love sunsets! I mainly used both of these images because I thought it would be a great match once I put it with my portrait. Honestly, I think I made a great choice! Although the quality of my work could have improved. I think it could've been improved by adding more texture for it to look more eye catching. But overall I'm happy with what I created and it was a great experience doing this project. I would love to do it again!

Monday, February 9, 2015

HDR Photography

In G.T. we are currently working on HDR landscape photography. HDR photography is a High Dynamic Range imaging. It is used to take 3 or more pictures of the same view at different lighting. Then turn it into one photo that is more than what the eye can see, more than what the camera sees. What I like about HDR photography is that, it makes photos amazingly beautiful! It also balances the lighting between different objects. But there's one thing I dislike about HDR photography. It's just that some HDR photos look unreal. If you were actually there when the photo was taken, the view and the photo wouldn't exactly look the same. Like if you were to see an HDR photo on the internet, you were to think, "Wow! I want to go there!". But when you actually go to that view, it's not as breath-taking as the HDR photo you saw on the internet. Hopefully you get what i'm saying.

In order to make an HDR photo, you have to go through a couple of big steps. First things first, you need to take 3 or more photos of the same view with no movement. But in different exposures. You have to make sure that your horizontal line is straight, you have a good rule of thirds, and a good focal point. Once you have all the photos you need, you put them on photoshop in HDR Pro mode. Photoshop will then combine all of your photos into one photo where you can see the darkest parts of the view and the lightest parts of the view clearly, the whole photo will be in balanced lighting. Once Photoshop is done with that, the next part is all up to you. With the photo you have, it's your choice to put as many effects as you want. You can make it realistic, surrealistic, leave it as it is, or ect. Once you have done all of those steps, you are done. Hopefully you'll now have an amazing HDR photo! This process is different than other automatic HDR functions, e.p. your cell phone, because with this process you can add as many different effects as you want. While on an automatic HDR function you don't really get a choice on how much effects you want to add to you photo.

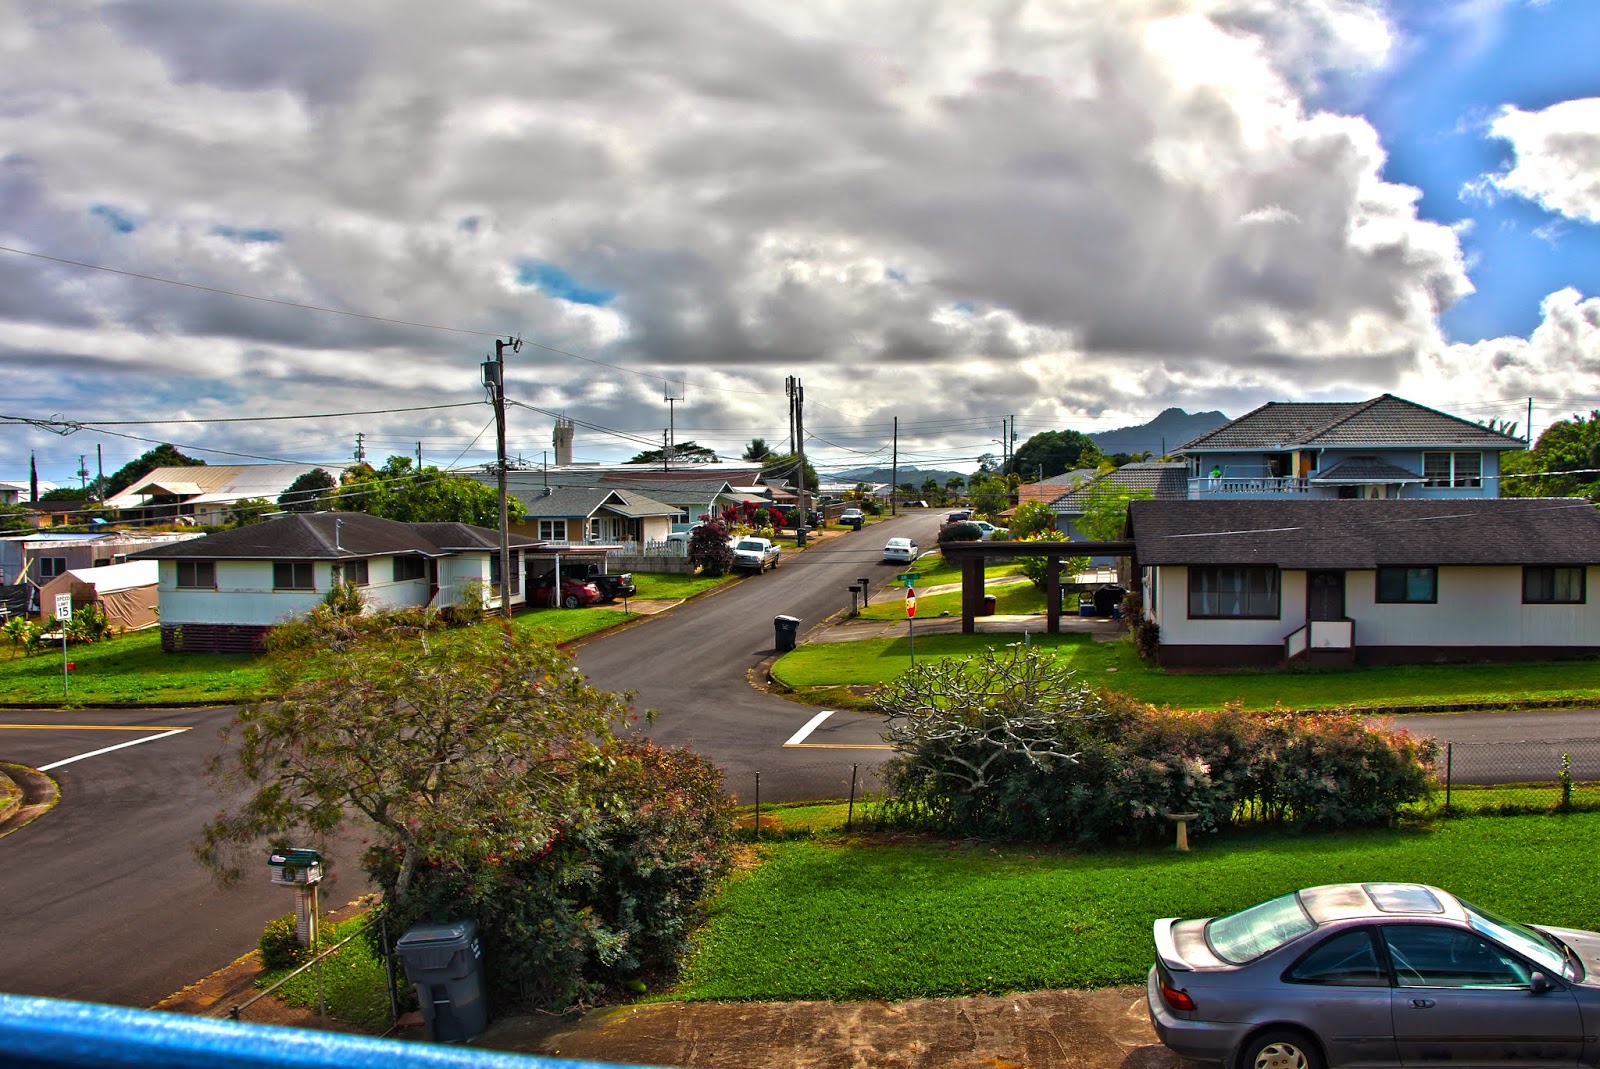
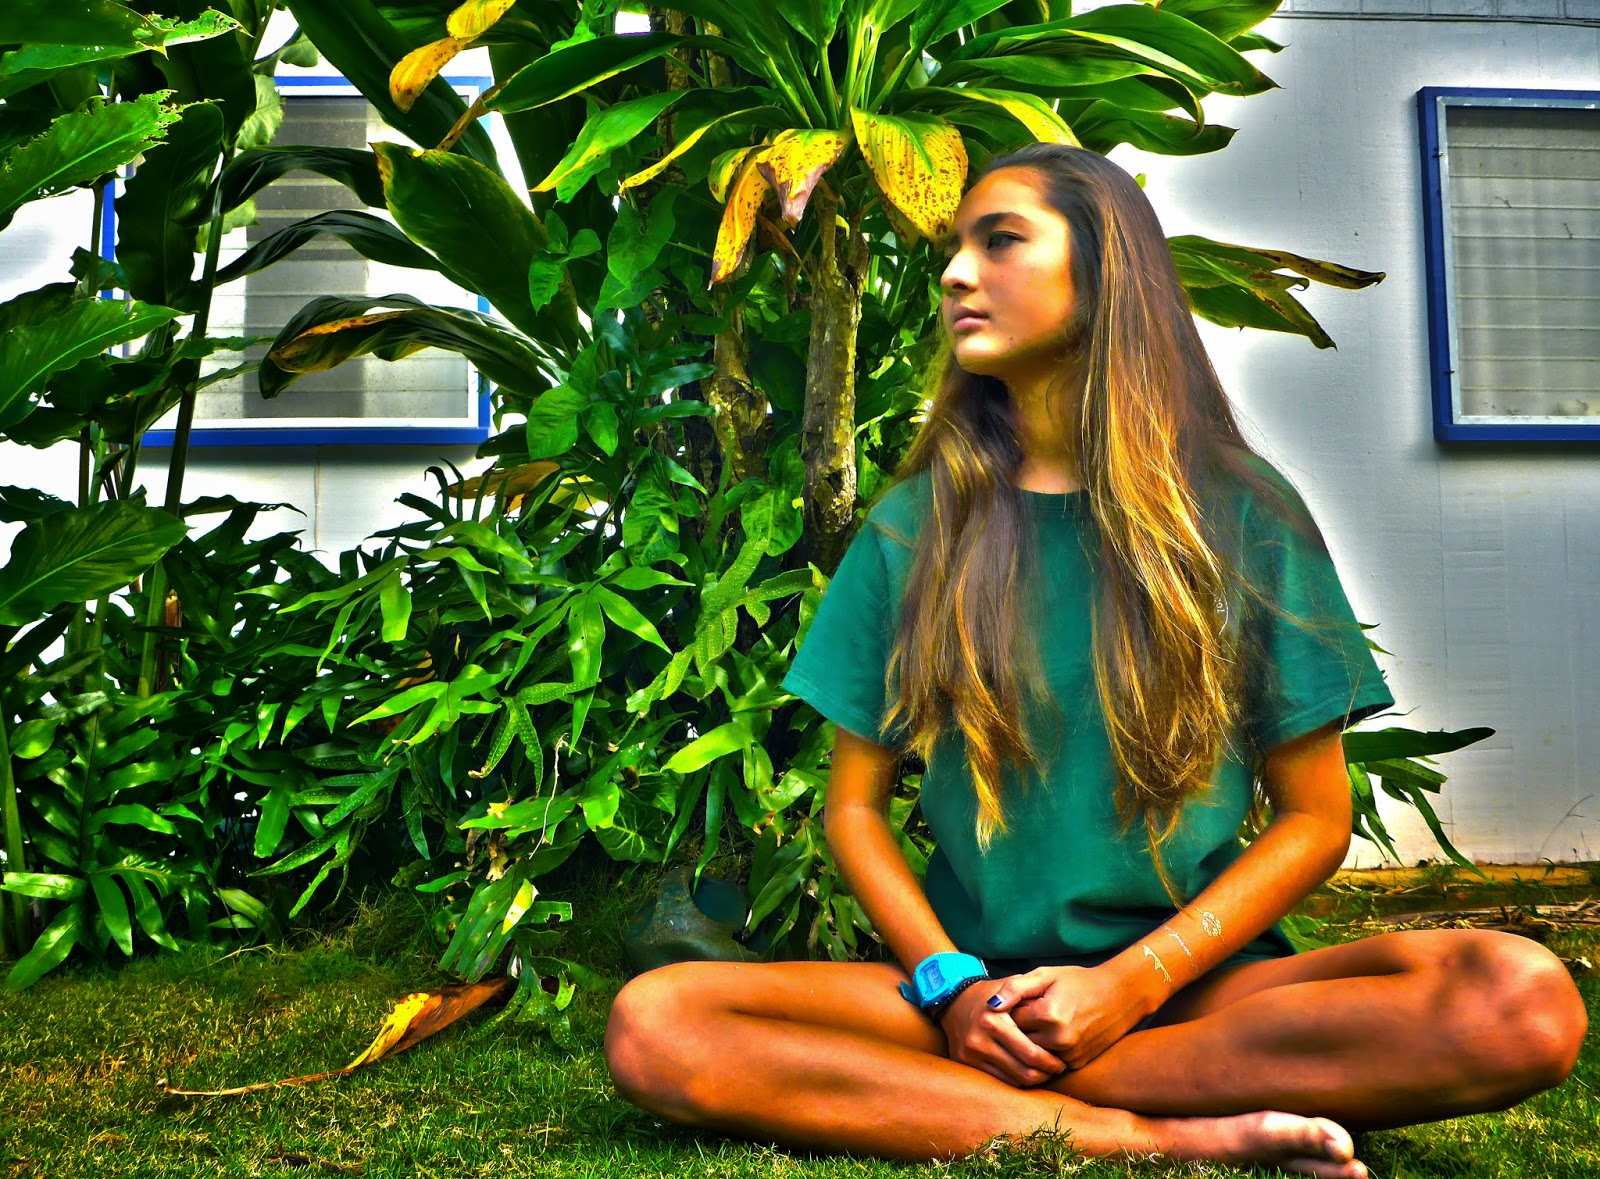
My first HDR photo is a landscape photo that I took on a deck at my friend's house. I think for this photo I have a really good focal point but I could've put more thought into my rule of thirds. My horizontal line seems to be in the dead center of the photo, when it should've been a little higher or a little higher. I also added some effects to make it look surrealistic. I think it looks quite dramatic! My second HDR photo is a portait of my friend, Gabby Duran. It took quite a while to take this one, considering she had to stay in that position for about 2 minutes. I think my rule of thirds is perfect! But I think I could've made her turn her head a little more to the camera. I also added effects to make it surrealistic as well. I think it came out beautiful! My last HDR photo is a superimpost photo, where I combined both of my HDR photos into one photo. I cut out my friend out of the portrait and placed onto my HDR landscape photo. I also added some effects so the cutout looks smooth. Once I did that I added a word that is surrealistic and relates to what the photo is telling the audience. I put the word "imagine" and added effects so that it looks more eye catching. I think that photo came out beautiful, I wouldn't change a thing!

Wednesday, January 28, 2015

Movie Trailer Critique


P1T8 Young and Brokenhearted from Kapaa Middle School MEDIA on Vimeo.

The latest project that Mr.Sanderl that assigned the G.T. class was to make a movie trailer that was appropriate enough for elementary students. My teammates were Miles Frazier, Lilio masi, and Ehu Keala. Mostly everyone in that G.T. class wrote stories for a project for their English class. So somebody's story from each team would have to be made into a movie trailer. My team and I decided to do a movie trailer on Lilio's story, Young and Brokenhearted. The main characters were Ziggy Twisty played by Miles Frazier and Malia Hessenheffer played by ... me! Before we started filming, we made a trailer plan. So that we mainly plan everything that would be put in the movie trailer and not get stuck on what to do next. I contributed into this project by playing a roll as Malia Hessenheffer and I helped out on the trailer plan.

The requirements for this project were to be 1 minute and 30 seconds to 2 minutes and 30 seconds long, have foley, have dialogue, have a voice acting script, have text layovers, have effects, have 5 scenes, have a movie poster created and finished, and a finished trailer plan. My team and I did not complete all of the requirements because we didn't really use our time wisely. Our trailer was about 10 seconds less than the minimum requirement and on some of the scenes we didn't have foley or background music for. Those were the only requirements we did not fully finish. If my team and I could go back in time, we would've finished our trailer plan as soon as possible and worked on our movie trailer the next day.

The class critiqued my teams and I movie trailer in 3 categories, audience, creativity, and requirements. The grading was room for improvement, satisfactory, and above & beyond. I actually agree on how the class graded us on audience because it would actually relate to most of the elementary students in most ways. I agree on most of the grades that the class gave us on creativity because I think the story we chose to make a movie trailer on is quite creative. For requirements, I agree on how the class graded us because we did not fully complete all the requirements, but we did most of them. After finishing the project, I've learned that it is to never take time for granted. I've also learned to stay focus and stay on task or else the project will fall apart. Overall the making of this project was an amazing eperience and I would love to do it again!

Thursday, December 18, 2014

Movie Poster Promo

The next project that was assigned for the G.T. class was to create a movie trailer and move poster for elementary students to see. The title for the movie that my team and I agreed on was "Young and Broken Hearted". The main character in the movie is Miles Frazier playing as Ziggy Twisty. Ziggy is a freshman and he is experiencing his first year in high school. He gets bullied and teased, the first day of high school was nothing what he thought it would be like. In my movie poster Ziggy is depressed due to what he has been going through his first week of high school.

The title of my movie poster, "Young and Broken Hearted", practically tells you what the movie is about. Ziggy is a young freshman and goes through a very tough first year of high school. But then he meets a very special someone, but it all takes a turn on him. Now he is broken hearted. So that is mainly why my team and I chose to title our movie that we are making "Young and Broken Hearted". In my movie poster I used a lot of effect and one of the most important one is kerning. Kerning is the process of adjusting the space between letters. Kerning is very useful when editing your title for a movie poster because it makes your title more appealing and makes your title stand out.

After I put all of the different layer effect and filters onto my movie poster, it was a huge transformation from the original image. I thought that the effects made the main character stood out a lot more. The effects on the title and information stood out as well. Every effect that was added related to what the movie was actually about. To me it seemed like an actual movie poster you would see at the movie theaters!